
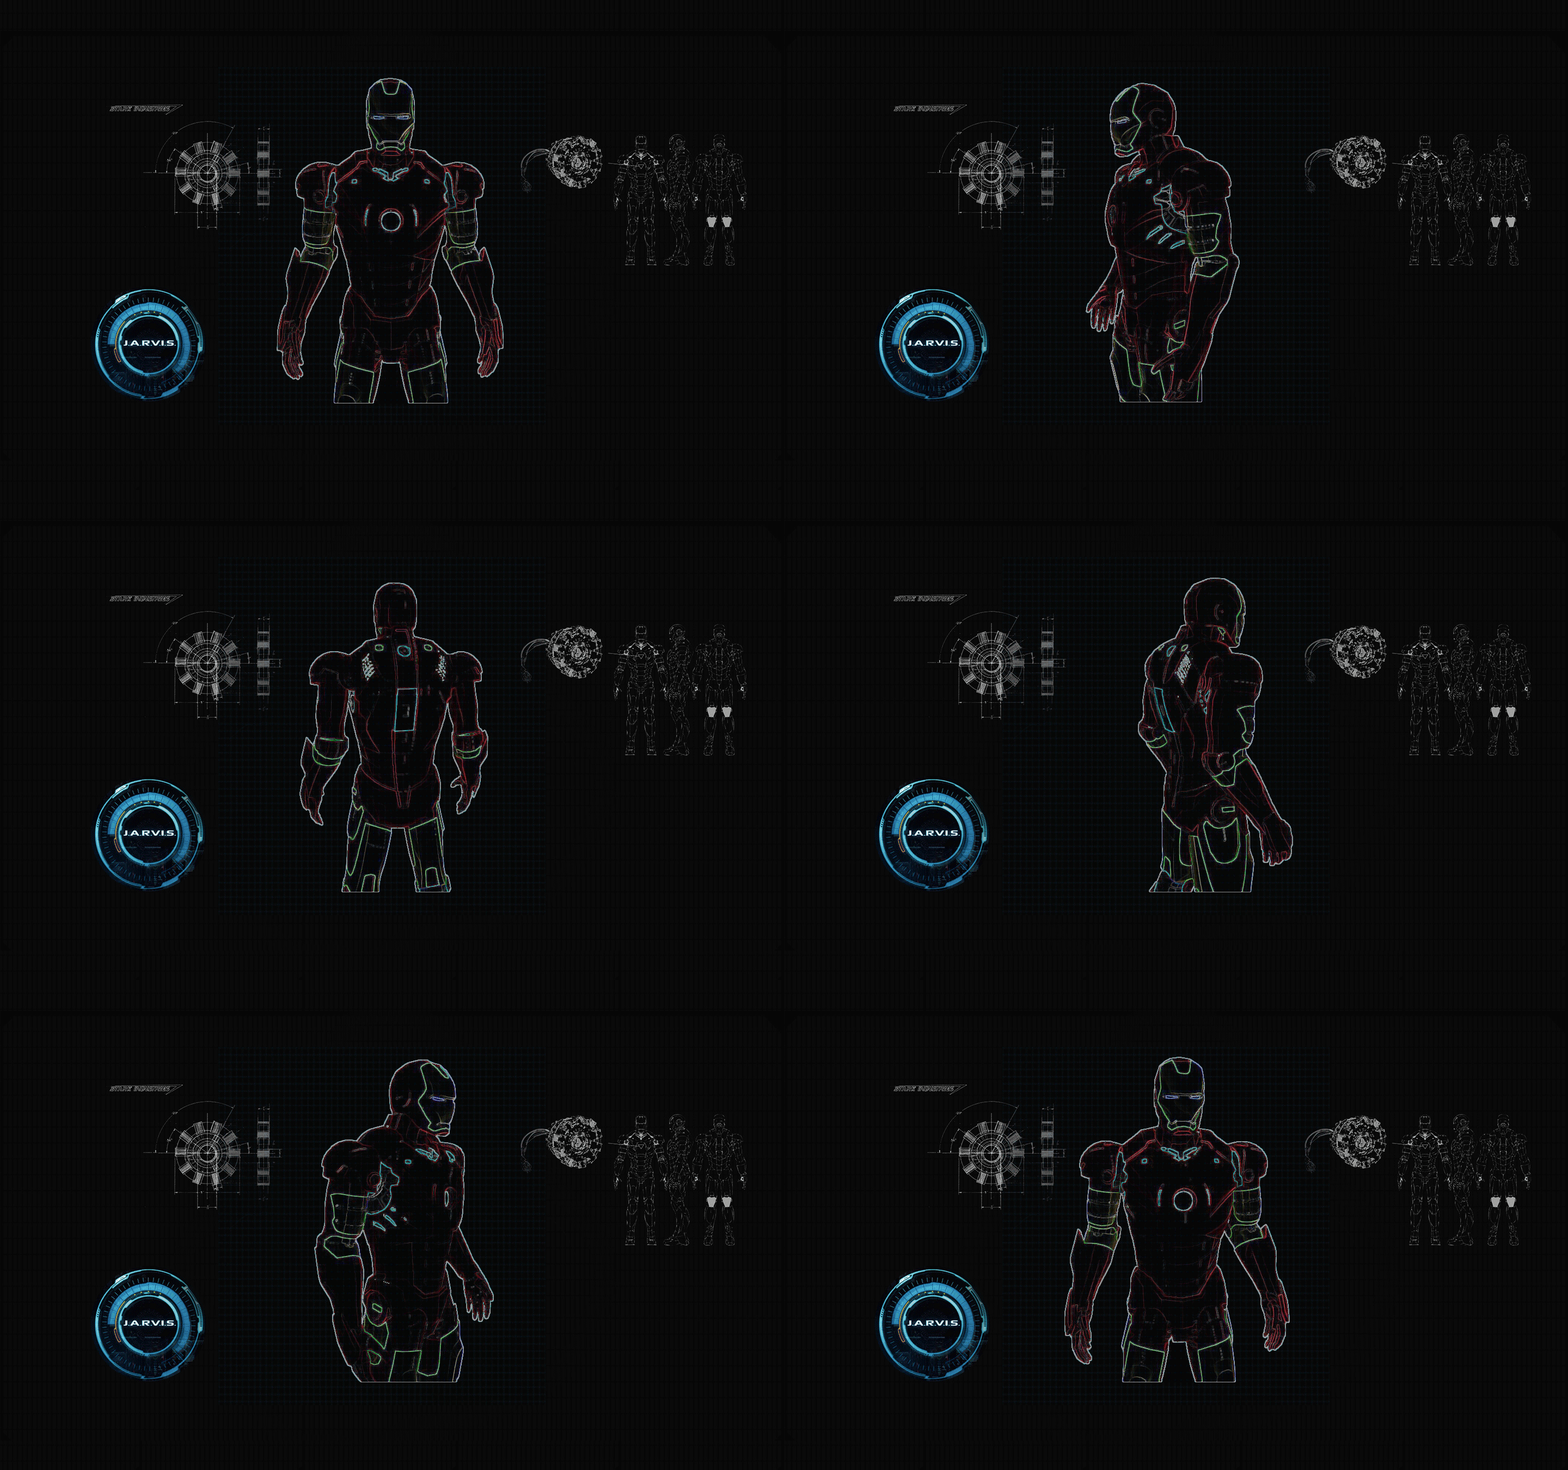
Have you ever wondered how cool it would be to have your own assistant? Imagine how easier it would be doing Wikipedia searches without opening web browsers, and performing many other daily tasks like playing music with the help of a single voice command, opening different browsers in just a voice command.
This project is simple desktop voice assistant built with python named as “Desktop AI Vitual Assistant”. This project is fully completed and error free. It was compiled in VS Code Editor.# Desktop AI Vitual Assistant 🔥
Have you ever wondered how cool it would be to have your own assistant? Imagine how easier it would be doing Wikipedia searches without opening web browsers, and performing many other daily tasks like playing music with the help of a single voice command, opening different browsers in just a voice command.
This project is a desktop voice assistant built with Python named "Jarvis Desktop Voice Assistant". This project features both a console version and a modern GUI version with a futuristic interface. It was compiled in VS Code Editor.
🔸 Let's be honest, it's not as intelligent as in the movie, but it can do a lot of cool things and automate your daily tasks you do on your personal computers/laptops.


It can do a lot of cool things, some of them being:
- ✅ Greet user based on time of day
- ✅ Tell current time and date
- ✅ Modern GUI Interface with cyberpunk theme and animations
- ✅ Voice Recognition - Natural language processing
- ✅ Text-to-Speech - Assistant responds with voice
- ✅ Wikipedia Search - Quick information lookup
- ✅ Open any website (YouTube, Google, etc.)
- ✅ Play music from your Music folder
- ✅ Take screenshots with custom filenames
- ✅ Tell jokes - Programming humor
- ✅ System control - Shutdown/restart commands
- ✅ Customizable name - Rename your assistant
- ✅ Color-coded console - Visual feedback for actions
(Modern cyberpunk-themed interface with real-time voice feedback)
(Classic terminal-based interface)
- Python 3.12+
- Windows OS
- Microphone (for voice commands)
- Internet connection (for speech recognition and Wikipedia)
- Click the "Fork" button on the top right corner of the repository page.
- Clone the forked repository to your local machine:
git clone https://github.com/YOUR_USERNAME/Jarvis-Desktop-Voice-Assistant.git
cd Jarvis-Desktop-Voice-Assistant
- Create a virtual environment:
python -m venv .venv
- Activate the virtual environment:
- For Windows:
.venv\Scripts\activate
- For macOS/Linux:
source .venv/bin/activate
- For Windows:
- This activates the virtual environment and should look like
(.venv) directory/of/your/project>
- Install all the requirements given in requirements.txt:
pip install -r requirements.txt
- For Windows with Python 3.12, use PyAudioWPatch:
pip install PyAudioWPatch
- If you face issues, follow the instructions here
- GUI Version (Recommended):
python jarvis_gui.py
- Console Version:
python jarvis.py
- Now enjoy your own assistant! 🎉
- After you're done, deactivate the virtual environment:
deactivate
| Command | Action |
|---|---|
| "What's the time?" | Tells current time |
| "What's the date?" | Tells current date |
| "Wikipedia Python programming" | Searches Wikipedia |
| "Play music" | Plays random song from Music folder |
| "Open YouTube" | Opens YouTube in browser |
| "Open Google" | Opens Google in browser |
| "Take a screenshot" | Captures screen |
| "Tell me a joke" | Tells a programming joke |
| "Change your name" | Rename the assistant |
| "Shutdown" | Shutdown computer |
| "Restart" | Restart computer |
| "Offline" / "Exit" | Close the assistant |
Jarvis-Desktop-Voice-Assistant/
│
├── .venv/                    # Virtual environment
├── jarvis_gui.py            # GUI version with modern interface
├── jarvis.py                # Console version
├── assistant_name.txt       # Stores custom assistant name
├── requirements.txt         # Python dependencies
├── README.md               # Project documentation
├── .gitignore              # Git ignore file
└── LICENSE                 # MIT License
Say: "AI" and speak the new name.
Edit these lines in the code:
engine.setProperty('rate', 150)      # Speech speed
engine.setProperty('volume', 1.0) # Volume (0.0 to 1.0)Adjust in code:
r.energy_threshold = 300 # Lower = more sensitive- Check if microphone is plugged in
- Enable microphone in Windows Settings → Privacy → Microphone
- Set default microphone in Sound settings
- Check internet connection (Google Speech API requires internet)
- Speak clearly and close to microphone
- Reduce background noise
pip install PyAudioWPatchpip install setuptoolsPull requests are welcome! For major changes, please open an issue first to discuss what you would like to change.
- Fork the repository
- Create your feature branch (
git checkout -b feature/AmazingFeature) - Commit your changes (
git commit -m 'Add some AmazingFeature') - Push to the branch (
git push origin feature/AmazingFeature) - Open a Pull Request
- Add web scraping capabilities
- Weather information integration
- Email reading and sending
- Calendar management
- Smart home control
- Multiple language support
- Custom wake word detection ("Hey Jarvis")
- Task reminder system
- News headlines reading
- System performance monitoring
👤 Your Name
- GitHub: @YOUR_USERNAME
- Built with Python and ❤️
- Thanks to all open-source contributors
- Special thanks to the Python community
Please ⭐️ this repository if this project helped you!
This project is MIT licensed.
Feel free to reach out if you have any questions or suggestions!
Made with ❤️ and Python
🔸 Let's be honest, it's not as intelligent as in the movie, but it can do a lot of cool things and automate your daily tasks you do on your personal computers/laptops.
It can do a lot of cool things, some of them being:
- Greet user
- Tell current time and date
- Launch applications/softwares
- Open any website
- Tells about any person (via Wikipedia)
- Can search anything on Google
- Plays music
- Take important note in text file
- Can take screenshot and save it with custom filename
- Can tell jokes
Python 3.6+
-
Fork The Repository
- Click the "Fork" button on the top right corner of the repository page.
-
Clone The Repository
- Clone the forked repository to your local machine:
git clone <URL>
cd Jarvis-Desktop-Voice-Assistant
- Clone the forked repository to your local machine:
-
Create and Activate a Virtual Environment
- Create a virtual environment:
python -m venv .venv
- Activate the virtual environment:
- For Windows:
.venv\Scripts\activate
- For macOS/Linux:
source .venv/bin/activate
- For Windows:
- This activates the virtual environment and should look like
(venv) directory/of/your/project>
-
Install Requirements
- Install all the requirements given in requirements.txt by running the command
pip install -r requirements.txt
- Install all the requirements given in requirements.txt by running the command
-
Install PyAudio
- Follow the instructions given here
-
Run the Assistant
- Run the main script:
python jarvis.py
- Now Enjoy with your own assistant !!!!
- Deactivate the Virtual Environment
- After you're done, deactivate the virtual environment:
deactivate
- After you're done, deactivate the virtual environment:
Pull requests are welcome. For major changes, please open an issue first to discuss what you would like to change.
Please ⭐️ this repository if this project helped you!
This project is MIT licensed.