
Note: Lantern runs over plain TCP with no transport encryption. Don't use it for anything sensitive. It's built for fun, local networks, or VPS setups where you control the environment.
pip install lantern-chat
Terminal 1 — start the server:
lantern-server
Terminal 2 — start the client:
lantern
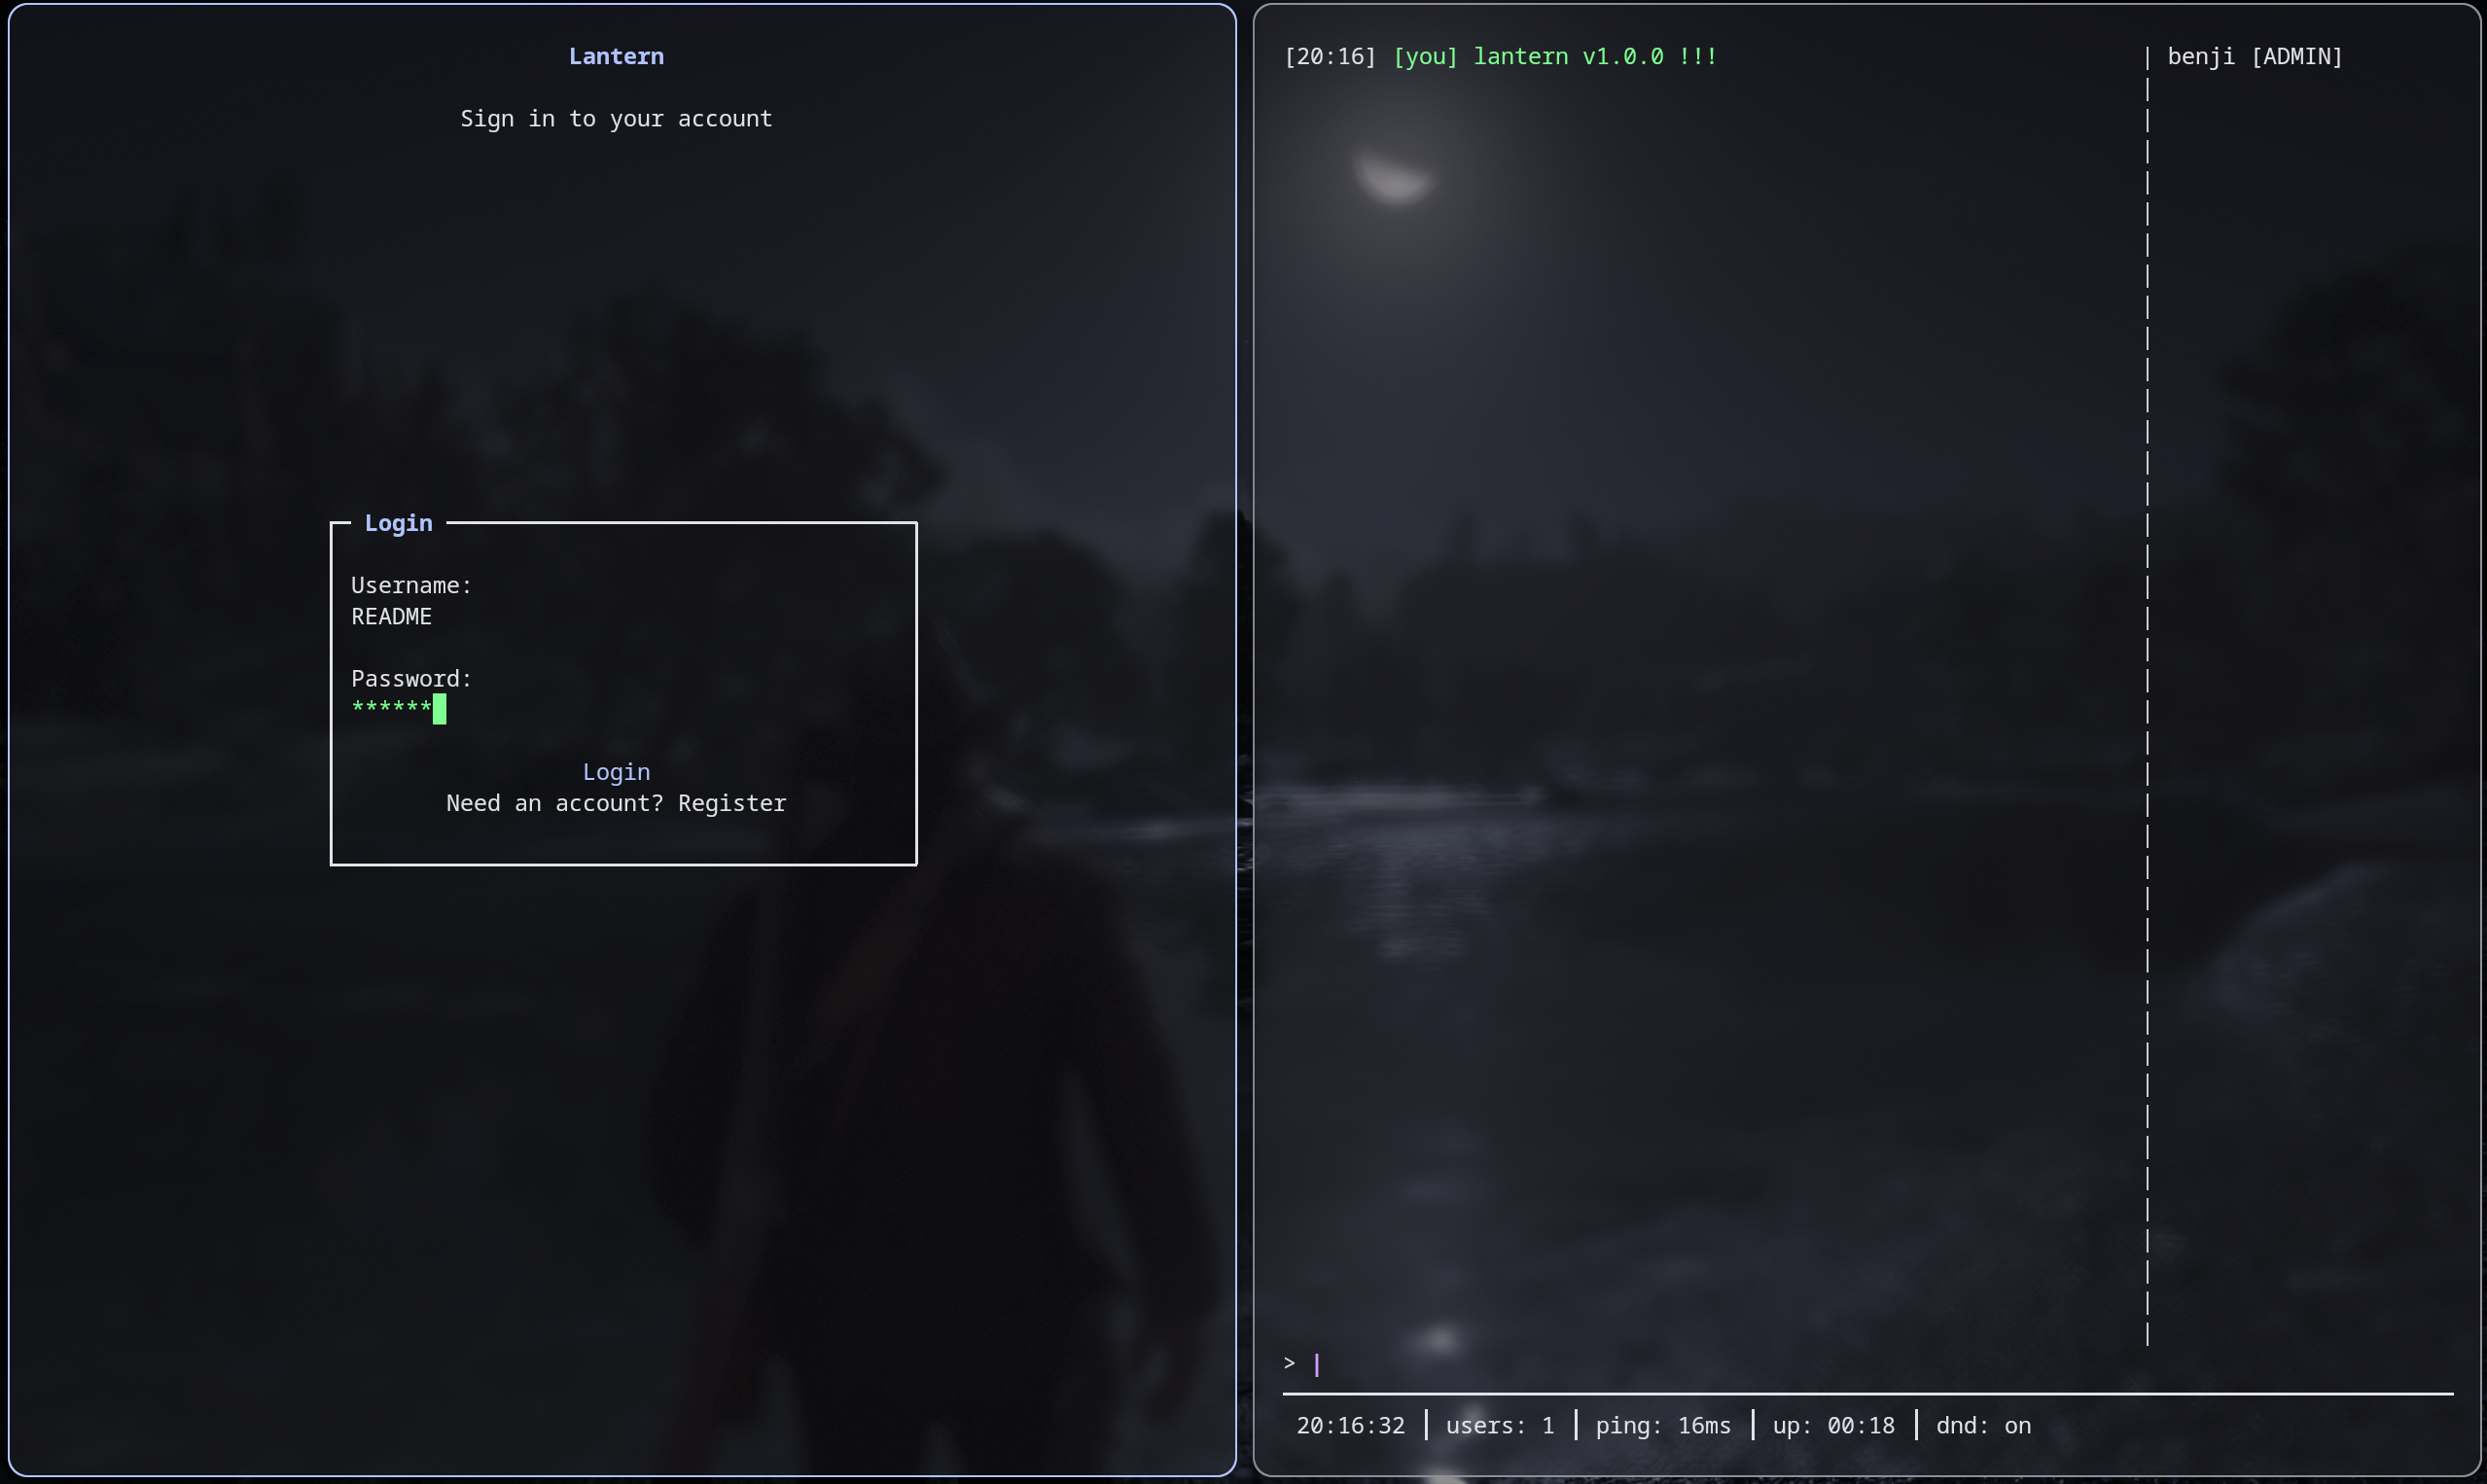
When prompted for a server address, enter localhost (or press Enter). Register an account and you're in. To connect from another machine, use the server's IP address instead of localhost.
- Linux (fully supported and tested)
- macOS (supported, not tested as extensively)
- Windows (known to work but not tested)
If you would like to test this on Windows I would really appreciate it, create an issue and I'll do my best to work on compatibility.
pip install lantern-chat
Requires Python 3.8+. Dependencies: rich, Pillow, opencv-python.
If you get an error about venv creation, install with
pipxinstead, available on most package managers aspython-pipx.
Or alternatively, build from source:
git clone https://github.com/benjibrown/lantern.git
cd lantern
pip install .
Start the server:
lantern-server
lantern-server -p 12345 # custom port (default: 6000)
Start the client:
lantern # pulls server ip, port and username from config file
lantern -s 1.2.3.4 -p 12345  # specify server address and port
lantern -u benji              # override saved username
On first run, the client will ask for a server address and save it. After logging in, your session is saved so you don't need to re-enter credentials. Reminder that there must be a server running at the server address specified either in the config file or via command line args for the client to connect successfully. See the Hosting section below for details on ways to do this.
| Path | Purpose |
|---|---|
~/.config/lantern/config.json |
Client: server address, port, username, DND |
~/.config/lantern/session |
Client: saved session (username + hashed pass) |
~/.config/lantern/state.json |
Client: last view, last DM partner |
~/.config/lantern/server.json |
Server: port, rate limits, admins |
~/.local/share/lantern/users.json |
Server: user accounts |
~/.local/share/lantern/messages.json |
Server: channel + DM history |
All commands are detailed on the help menu which can be accessed via /help.
All keybinds are detailed on the keybind menu which can be accessed via ctrl+k or /keybinds.
There are a few commands which are worth explaining:
/disp <time in secs> [msg]- send a disappearing message (redacts after the supplied time)/snap- send a snap (takes a picture from your webcam and sends to main chat) - bit of a joke command but its pretty fun to use/reload(admin) - reloads server config, meaning you dont have to restart the server after editing the server config file.
Server config lives at ~/.config/lantern/server.json. Create it or edit it to configure:
{
  "admins": ["benji"],

  "port": 6000,
  "fetch_cooldown": 30,
  "msg_rate_limit": 1.0,

  "max_msg_len": 400,
  "max_channel_messages": 2000,
  "max_dm_messages": 5000,

  "login_rate_limit_attempts": 5,
  "login_rate_limit_window": 300,
  "login_rate_limit_lockout": 900
}
Admins are matched by username. Admin commands are authenticated automatically using a per-session token issued by the server — no extra setup needed beyond adding the username to the admins list.
Lantern needs a server accessible to all clients. Options:
- LAN only — run
lantern-serveron one machine, clients connect by LAN IP - VPS — run the server on a public VPS, clients connect by public IP
- Tunnel — use something like
ngrokorcloudflaredto expose a local port
There is no built-in TLS. If you care about traffic privacy, put it behind a TLS-terminating reverse proxy (e.g. nginx with stream module, or stunnel).
Or even code in encryption and make a PR :)
PRs welcome. If something's broken, open an issue or fix it and send a PR. I really appreciate any feedback or PRs so please don't hesitate to do so.